Bay of Fires Evening

I completed the pastel on canvas “Bay of Fires Evening”, one of the works created from my recent trip to Tasmania.
The canvas is an old acrylic work, and was covered in Black Art Spectrum Pastel Primer and textured with combs while this layer was still wet.
Mostly I used hard pastels, laying them on the side and dry-brushing in order to have the lovely black lines of texture remain.

Revisiting “Open Up’ – pastel on repurposed paper. Progression 8 photos.

When I do a work for myself, as apart from a demonstration or teaching piece, I begin my defining my concept. This work began as a desire to comment on the many people in our world fleeing war and strife and seeking assistance from others. I wanted the ground to infer desert; I wanted a strong symbol of wealth – not only material but spiritual; and I needed to find a way of representing a multitude of streaming people. I decided on one of my blue and white jars with a lid, as a central motif of a container full of desirable offerings. The lid of course – fear often keeps the lid on our being generous in response to need.
Now came the decisions about composition. I decided pastel would give the easiest method of contrast between texture in fabric and smoothness in the ceramic surface. Adding pumice to primer would make the paper very rough and give a tangible feeling of sand. A placement of the jar according to the golden mean would give me lots of opportunity to create directions in the fabric leading the eye to the jar, and an almost square format (because I already had a used empty frame ready for a new work!). The hardest motif was in searching for something to represent people. After many scribbles in my visual diary I settled on marks like curved dashes with dots at the head.
Only now could I begin on the creating of the work, with my concept defined and all my compositional decisions made.

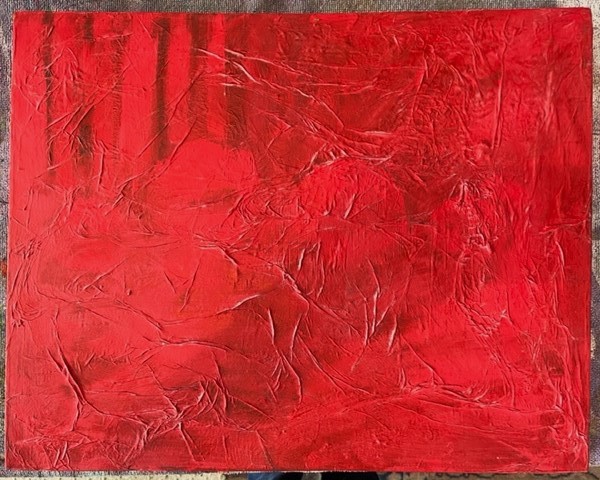
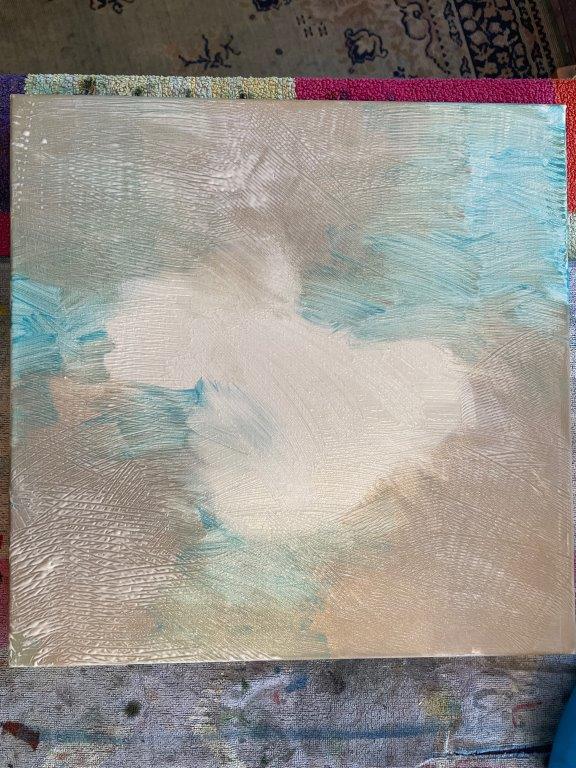
1. I mixed dry pumice into wet Art Spectrum pastel primer (Soft Umber in colour) and applied over an old pastel work on rough watercolour paper. I distributed the pumice unevenly over the surface.

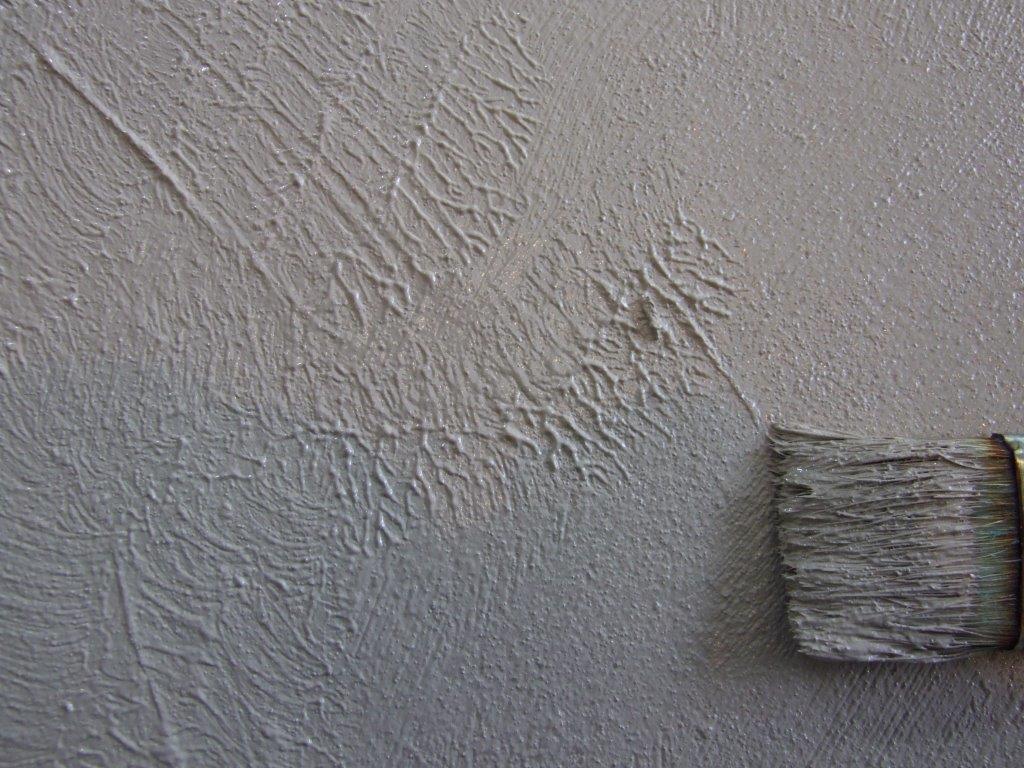
2. I used the same wide old bristle brush to add texture marks, patting it in some areas to leave raised marks, and adding directional marks.

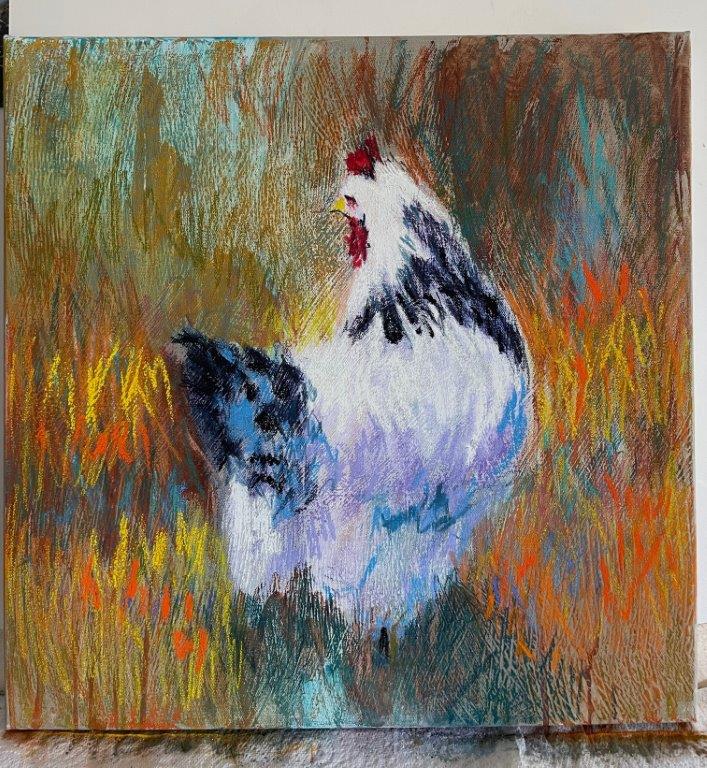
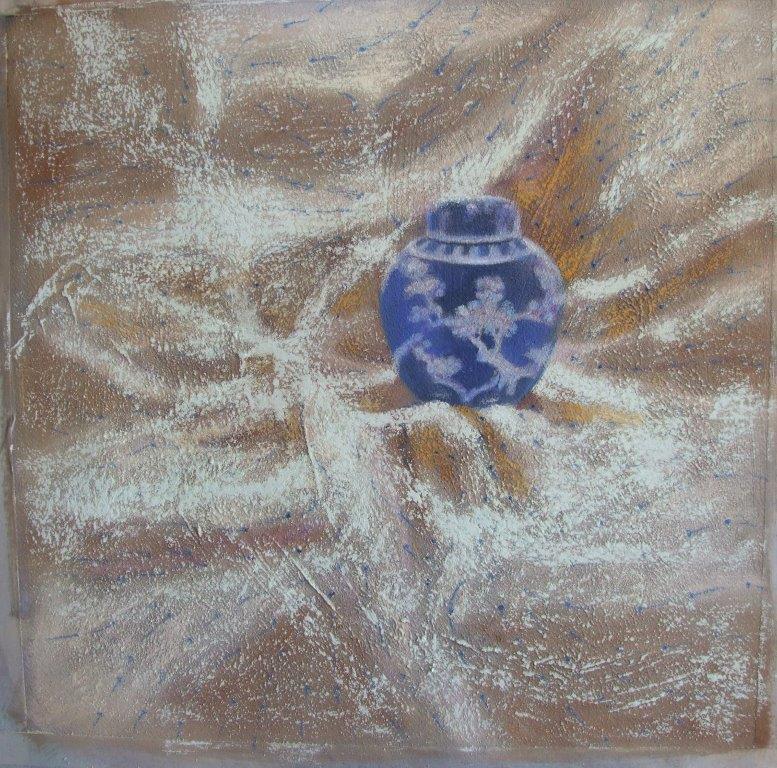
3. Using soft pastel I placed the basic composition, ensuring the highlights on the fabric all led to the jar.

4. I then covered the surface with more soft pastel to establish a base and to begin to refine the drawing. I was really happy with the texture – even though representing fabric folds, I wanted a visual and tactile reference to sandy parched earth.

5. I used a flat bristle brush to push water into the layers of black, purple and ultramarine blue, so that there would be flat areas in the shadows. Wet pastel would flow better into the recesses of the texture marks.

6. When this dried, I continued to place soft pastel. The rough texture was a bit hard on the old fingers! I began to draw in the linear marks with dots – symbols of an untidy mass of humanity reaching towards a sealed receptacle of available nourishment.

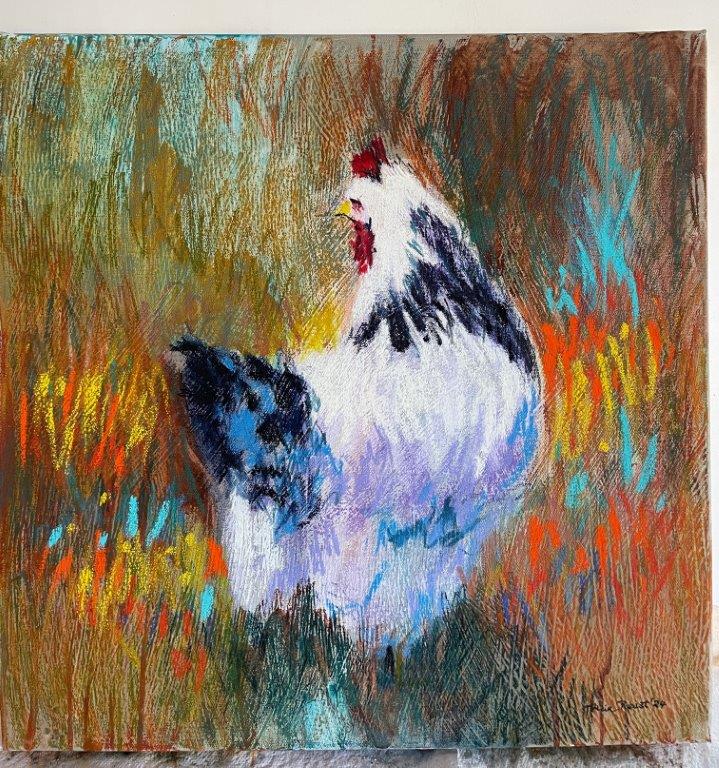
7. I darkened the dots on the marks closer to the jar. Using the new Art Spectrum soft square pastels, I placed a blue white over all the fabric area, deliberately creating cross flows in the fabric directions and catching the tips of the pumice texture marks. I placed touches of Red Gold around the fabric close to the jar.

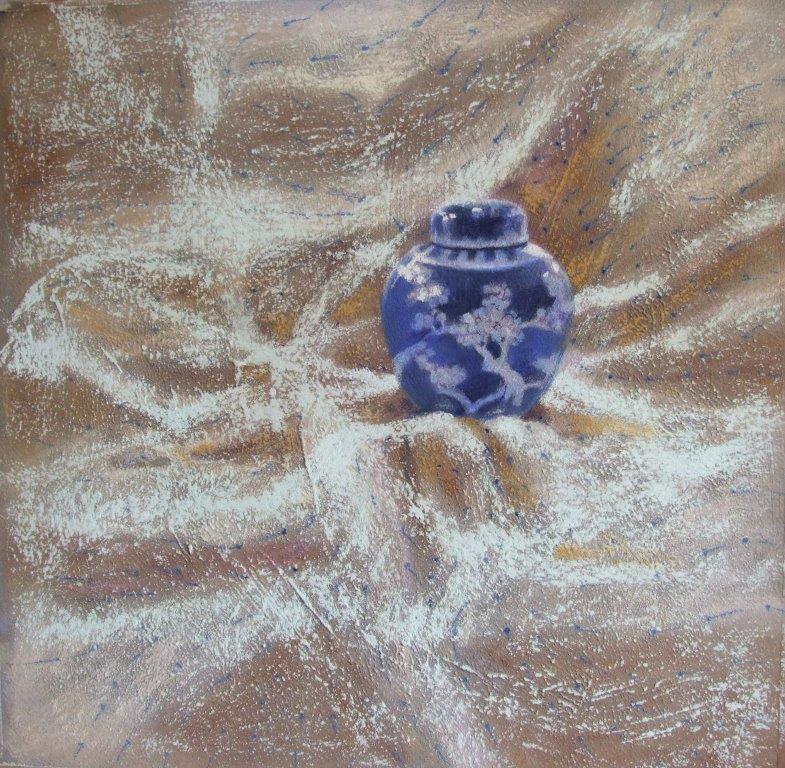
8. I worked more on the jar, using a new AS soft square orange white for the highlights, and using a blue white for heavier accents in the fabric. “Open Up!” 47.5 h by 46 w cms.

Come and see who won what!

Last two days of the PSA Annual Awards Exhibition, at the Auditorium Mt Coot-tha Botanical Gardens.

Pastel demonstrations to see (with 3 Master Pastellists Betty Sutton, Penelope Gilbert-Ng and myself) and our newest Accomplished Pastellist, Karen Christiansen.

The awards were nnounced and presetnaed last night – I was fortunate to receive the Bella Award (1st in People) with “Homeless”

PSA Annual Awards Exhibition 19-23 June 2024


Just washed the gloves we use when handling the art! These wonderful pastel art works all hung. Show all ready for you to see – 10am to 4 pm Thursday, Friday and Saturday, and 10 am to 2 pm on Sunday – demonstrations of pastel art each day.
Auditorium, Mt Coot-tha Botanical Gardens.

PSA Annual Awards Exhibition June 19 – 23 Brisbane Botanical Gardens

The Pastel Society of Australia exhibition at the Auditorium Mt Coot-tha Botanical Gardens (Mt Coot-tha Road, Toowong):

Open to the public Wednesday 19 June 2 to 4 pm
Thursday 20, Friday 21, Saturday 22 10 am to 4 pm
Sunday 23rd, 10 am to 2 pm

Demonstrations by pastel artists free to the public during opening hours.
I myself will be demonstrating:
Thursday 1 to 4 pm – Using Pastel Wet
Sunday 10 am to noon – Pastel on Canvas

Hope you can come along!

Sold at Elvy’s Cafe in Shorncliffe – Jabiru

Thrilled to have sold “Jabiru” at Elvy’s Cafe.

Giclee reproductions in any size on paper or canvas, in limited editions with Certificates of Authenticity, available through Art House Reproductions Fine Art Services – www.arthousehq.com
Wide Format Printing – www.inkjetlab.com.au
Where Artists and Lovers of Art Meet – www.buyartnow.com.au

Oil Pastel on Canvas

A still life on an old canvas, created with oil pastel.

1. Over an old painting, I placed tissue paper with Atelier Binder Medium, and painted with red acrylic. When dry, I covered the surface with a layer of Art Spectrum clear pastel primer.

2. I drew in the basic composition with a dark blue oil pastel.

3. This photo shows the basic placement of underpainting colours.

4. The first spray of varnish ha set the oil pastels into the canvas, and changed some if the lighter colours. They will need more layers of the same colour oil pastel, as more colours are also introduced to the work.

5. Ready for a final spray.

6. Although not a good photo, this shows the brilliance that can be achieved with oil pastel on canvas. 61 w by 46 h cms ( 24 by 18 inches).

Pastel on Canvas in Wet Washes

This work was created using mostly wet pastel on canvas and I showed it and discussed it on the PSA Zoom “Using Pastel on Canvas” last month.

1. Gesso was placed over an old work, and when dry, collages with fabric and white tissue papers.

2. Soft pastel was applied.

3. The pastel layers were wet with water and a brush and allowed to dry.

4. A detail showing how the pastel is drying with sections of pigment clumping in interesting shapes.

5. Another detail showing how the wet pastel is settling into the texture.

6. I placed another layer of dry soft pastel and wet it with water and a brush.

7. A detail showing the subtle layers of colour.

8. Another detail showing how the second layer of pastel dries as a glaze over the first layer of colour.

9. Detail showing how the subsequent wet pastel layer is drying over the sprayed varnish surface.

10. The next wet pastel layer.

11. Adding Art Spectrum Extra Soft Square pastels in yellow, blues and turquoise.

12. Close up detail showing the pastel dry brushed over the texture.

13. Detail photo showing this same area after spraying with varnish.

14. Close up showing the rich depth achieved through sequential pastel and varnish layers.

15. Not a good photo, and I am not sure if I am happy to say this is completed, but as it is now the signed piece. “NZ Scape” 61 w by 31 h cms (24 h by 12 w inches). I’ll keep contemplating it. My students will not be surprised to hear that I think it needs a bird somewhere.

Pastel Pencil on Canvas

Another work from the PSA Zoom demonstrating “Using Pastel on Canvas”.

1. On a small canvas, I covered an old painting with modelling compound, textured the surface, and when dry, placed an Atelier Red Gold acrylic wash. I then layered this with AS clear pastel primer. I drew in the birds and twigs with a white pastel pencil, and then continued the drawing with pastel pencils. This was the stage at which I presented the work at the Zoom.

2. During the Zoom demo, I added some more dark blue pastel pencil twigs, then turquoise highlights on the birds and twigs with Art Spectrum Extra Soft Square pastels as these are minimally affected by the wet spray varnish. This is the finished work – an 8 by 10 inch canvas – 21 by 26 cms. Thank you to Christine Hammond who chased wrens all around Tasmania with me for these photos.

Website up again – Progression of work from PSA Zoom 14th May 2024

Finally my website is up again – deep gratitude to Russell from Dymond Hosting. I have lost some previous progressions which I will endeavour to rewrite and post. This one is the promised finalized work from the demonstration Using Pastel on Canvas in the PSA Zoom Tuesday 14th last month.

1. The canvas prepared with Soft Umber Art Spectrum pastel primer, and some clear primer that has turquoise acrylic ink in it for colour. Before this primer dried, I ran combs through for texture – a fine tooth comb towards the top, and a more widely toothed comb towards the bottom.

2. Here is the work at the end of the demonstration. I had placed soft pastel and wet some in the background, then proceeded to draw up the chook and flooring of grasses and straw with more soft pastel. This is ready for a spray of varnish.

3. This is the work after another layer of soft pastels, readily apparent in the brighter oranges etc, and waiting for a further spray of varnish.

4. After further applications of soft pastel, especially the AS extra soft squares, which have minimal affect after being wet and don’t like being mixed with water at all, the work is ready for a final spray.

5. The completed signed work – 45 square cms (18 square inches).